How to Measure and Photograph a Wall for a Panel Quotation
A simple guide to measuring width and height, photographing the wall and its condition, and sending it all on WhatsApp for an accurate panel quotation.
Most wall panel quotations start with a photo sent over WhatsApp. The clearer that photo and the closer your rough measurements, the more accurate the first figure you receive. You do not need special tools or a laser measure. A tape measure, a phone camera and a little care are enough. Here is how to measure and photograph a wall so your quotation reflects the wall you actually have.
What you need before you start
Gather a few simple things first so you can do everything in one go.
Tools
- A steel tape measure, ideally one long enough to reach the ceiling
- Your phone camera, with the lens wiped clean
- A notepad or the notes app on your phone
- A step stool if the ceiling is high
Prepare the wall
Move small furniture, plants and wall decorations away if you can. You do not need an empty room, but the more of the wall we can see, the fewer assumptions go into the quotation. Switch on the room lights and open the curtains so the wall is evenly lit.
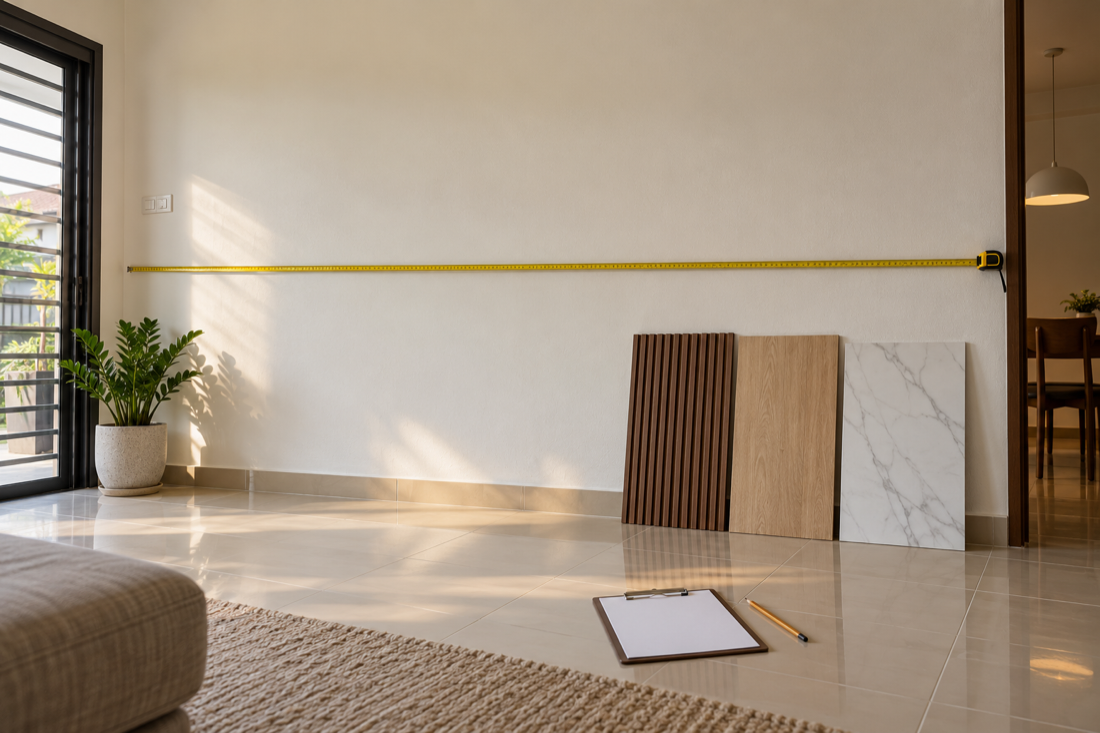
Measuring the wall step by step
A rough width and height is all we ask for. These steps help keep those two numbers reliable.
Width
Measure along the floor from one corner to the other. If the wall has skirting, measure just above it. On long walls, measure once at floor level and once at shoulder height. If the two numbers differ, note both; walls are not always perfectly square.
Height
Measure from the floor to the ceiling at one end of the wall, then at the other. If there is a cornice, a bulkhead or a ceiling step, measure to its underside and mention it.
Only panelling part of the wall
If you want panels on a section only, such as behind a TV or a bed, measure that section as well as the full wall. Masking tape on the wall makes the section easy to see in the photo.
Openings, switches and fixtures
Note the size and position of any window, door, air-conditioner unit, socket, switch or built-in shelf on the wall. You do not need exact distances for every socket, but a quick list helps us plan the cut-outs and edges.
Photographing the wall
A good set of photos tells us about the wall's size, condition and access far better than a description.
The full-wall shot
Stand back as far as the room allows and hold the phone level at chest height. Fit the whole wall into the frame, including a strip of floor and ceiling. Avoid the wide-angle setting if your phone bends straight lines noticeably.
Close-ups of the surface
Take two or three closer shots of any cracks, damp marks, flaking paint or old wallpaper. The condition of the existing wall is one of the factors that changes a quotation, so it helps to show it honestly.
Corners and edges
Photograph where the wall meets the ceiling, the floor and the neighbouring walls. These are the spots where trims and edge finishing go.
Access to the room
If the home or premises has narrow stairs, a small lift or a long walk from parking, a quick photo or a line of text helps. Site access is part of what we consider when we prepare the quotation.
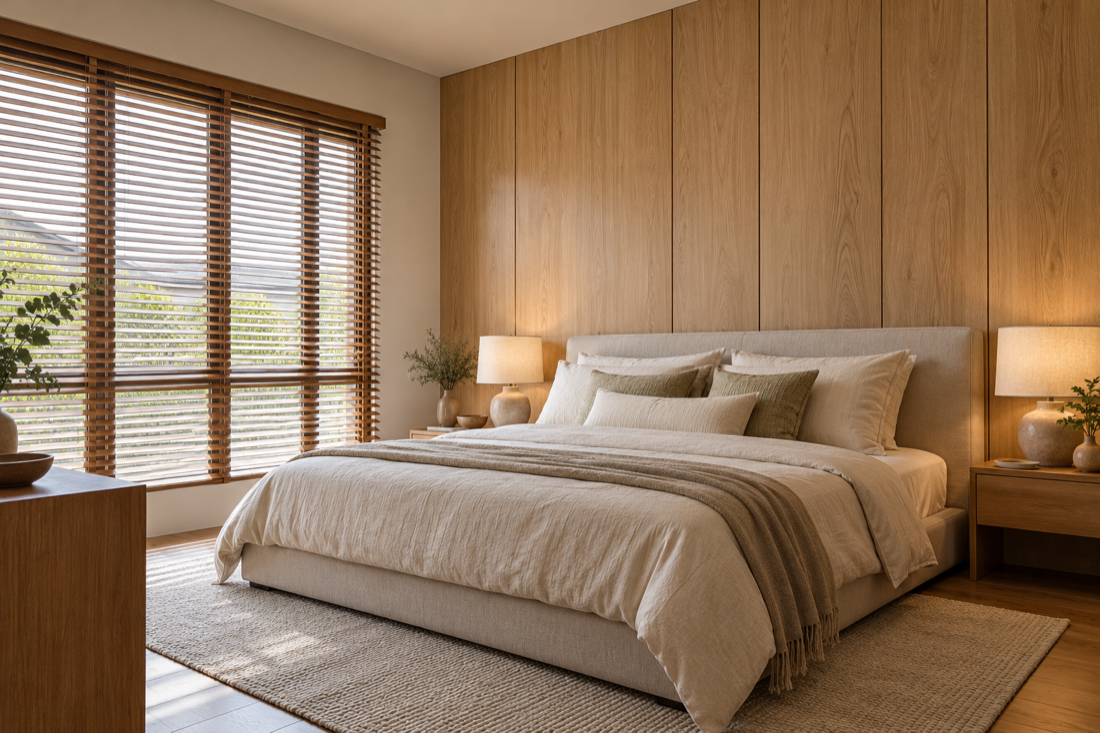
Sending everything over
Once you have the photos and numbers, put them into one WhatsApp message so nothing gets lost.
What to include in your message
- The full-wall photo and any close-ups
- Rough width and height, and the section size if you are only panelling part of the wall
- The material you are considering: wood, fluted, PVC, acoustic or marble-look
- How the room is used, especially for acoustic panels, where the specification is quoted per job
- Your town, so delivery and installation can be confirmed
What happens next
We prepare a quotation based on wall area, material and finish, the condition of the wall, the installation pattern, site access and any additional work. If you go ahead, a small deposit confirms the booking, followed by delivery and installation. Promo installation is subject to site inspection.
Not sure which material to pick yet?
That is fine. Browse our wall panel collections first, or try the wall planner. Standard panels start from RM25/sqft promo with installation, and marble-look panels from RM38/sqft promo with installation.
Enquiries from your town
We welcome enquiries from every town, and delivery and installation are confirmed for each one on WhatsApp. See our local pages for wall panels in Cheras, Puchong and Ipoh, then send your photos when you are ready.